Getting Started
HACS
Make sure you have HACS installed
If not, check the HACS Instructions. Supernotify is one of the default repositories in HACS so no custom repo configuration required
Download
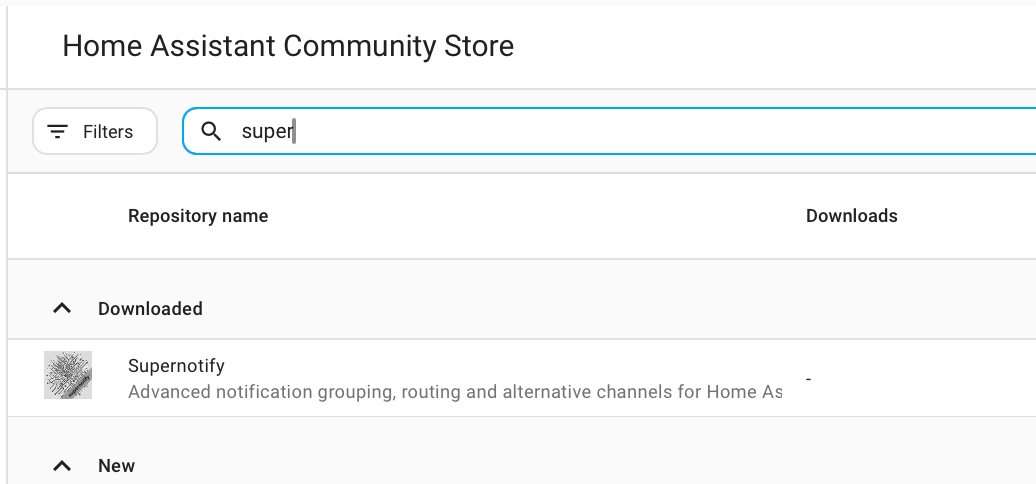
From the HACS page on Home Assistant, select Supernotify in the list of available integrations
Configure
Add Supernotify to the Home Assistant YAML configuration (YAML Configuration).
The Configuration pages have instructions and examples, including a minimal one that is only two lines of YAML and is good enough to get mobile push notifications working, plus use an existing SMTP integration if you have it or any notify entities.
Send
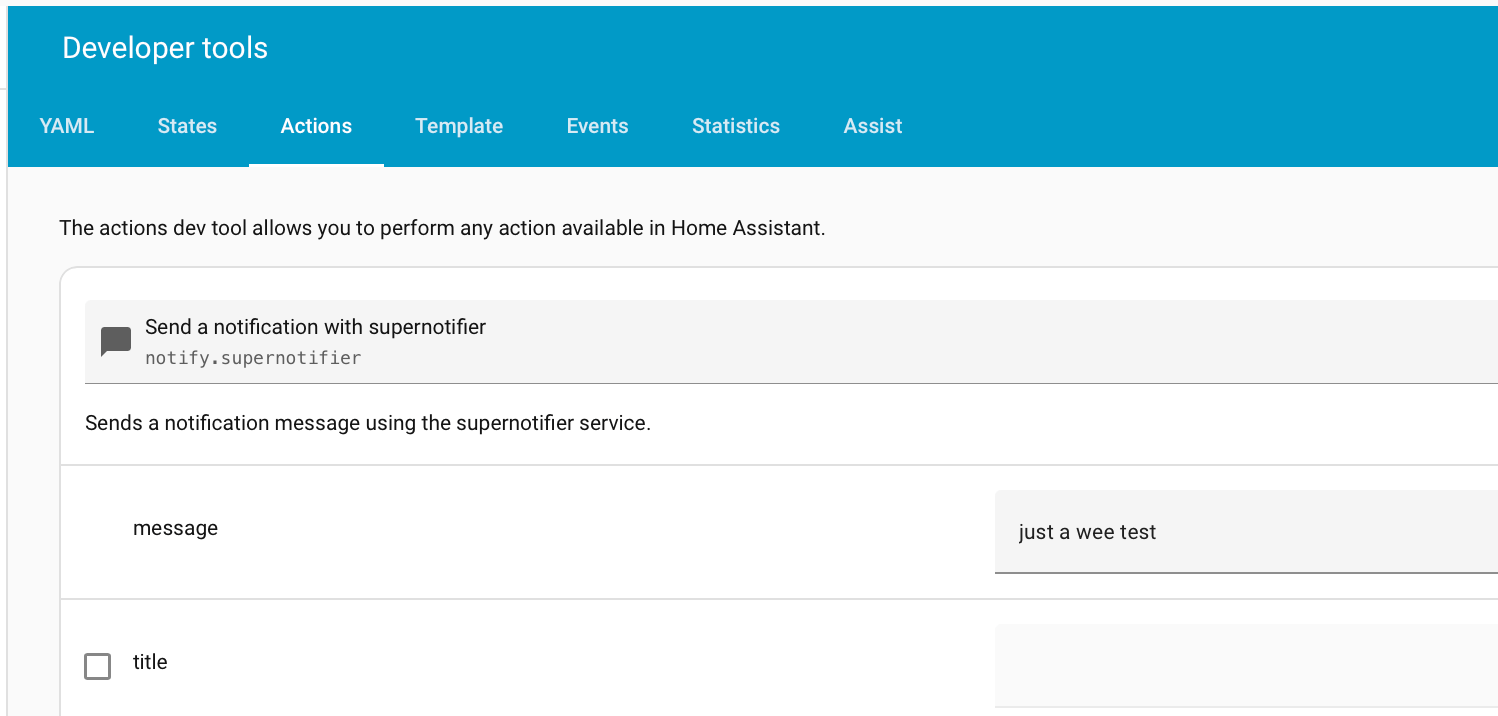
Send a test notification from Developer Tools Action Tab or start sending notifications from automations.
Be Inspired
Find lots of ideas with example configuration in the Recipes.